Should Cedar be left to Silver Naturally?

Should Cedar be left to Silver Naturally?

14 Mar 2023
silver-cedar

Many Cedar homeowners fall in love with the Scandinavian silvered look – minimalist, clean, with a silver sheen that accentuates the beauty of the timber and the natural surroundings.

But when it comes to achieving this look, there is a common misconception that all you need to do is leave the Cedar and silvering will happen naturally.

Unfortunately, this is not true, at least in the New Zealand climate, and timber that is left to silver will eventually turn unsightly.

In this article we will cover what silvering is, how you can silver your Cedar safely while still protecting the timber, and some DIY tips for maintaining the silver look of your Cedar until you are ready to oil.

To find out more, read the full article, or watch the video below for a quick summary.

Is Silvering Bad for Cedar? 

Without taking the location and climate into consideration, silvering itself is not bad for the timber. Silvering is caused by exposure to UV rays, which fray and loosen the top cells of the Cedar and cause the surface to become bleached.

silvered-cedar

In colder climates this isn’t a problem as the lower temperatures kill off the bacteria, retaining the beautiful, silvered look. But in a warm and wet climate such as ours, bacteria and mould will get caught in the roughened surface, and quickly turn the Cedar black.

Even if the mould and bacteria are removed, the natural silvering effect will often look patchy and uneven, detracting from the natural beauty of the timber.

Silvering Cedar the Right Way

So, is there any way to have the silver look you love, while still protecting your cladding? The answer is a resounding “Yes!”

Wood-X is a deep penetrating wood oil developed with Resene. It comes in a range of exciting colours – from rich reds and bush greens to a daring indigo blue – and a whole range of wood-protecting silvers. Applying a silver-tinted oil will protect your timber from the harsh UV rays, allow it to silver more quickly and give a more consistent silver look.

After applying the silver-tinted oil, you will need to follow a regular maintenance schedule to keep your Cedar looking its best. We recommend a soft wash every year, followed by recoating exposed areas every 2-3 summers.

DIY Silvering Maintenance

If you are not ready to oil your cladding quite just yet, a more affordable solution is to spray your house with a slow-acting mould and fungal killer such as Wet and Forget. This will remove the organic bacteria from the surface, but it will not replenish the natural oils of the Cedar or protect it against splitting and cupping in the future.

If you do not plan on oiling or staining your house, another option is to leave the silvering on as it provides natural protection to the layer below it. You can then use a slow-acting mould and fungal killer to keep it looking clean. The downside to this approach is that the timber will eventually look aged and tired.

Get Professional Advice You Can Trust

Ultimately, the best approach for protecting your cladding AND getting the silvered look is to oil your Cedar with a silver tinted oil. If you are unsure about the best approach and would like to talk with an expert, call us on 0800 298 298.

There is no obligation and our goal is always to look after the best interests of our customers over the lifecycle of their homes.

We love Cedar and are always happy to help!

Read More Articles

13 Mar 2025
Looking after Cedar is often a lot more cost-effective than people assume, and that cost just goes down with regular maintenance.

Time to answer the million-dollar question: how much does it cost to maintain or restore a Cedar home?

Thankfully, the answer is nowhere close to a million dollars! Looking after Cedar is often a lot more cost-effective than people assume, and that cost just goes down with regular maintenance.

Naturally, all homes are different, and no single price will fit the huge variety of Cedar homes across the country. The prices given here are a range, based on Mark’s experience looking after Cedar homes for 30+ years.

To cover the widest range of homes, we have categorised the pricing under 3 different eras, with some variables at the end.

Late 80s to late 90s

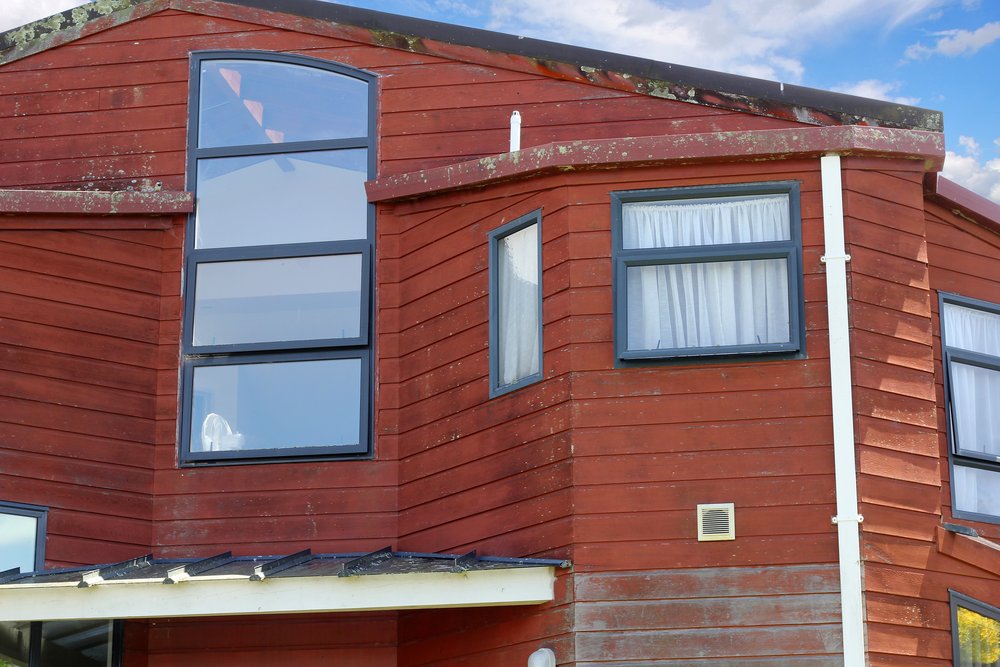
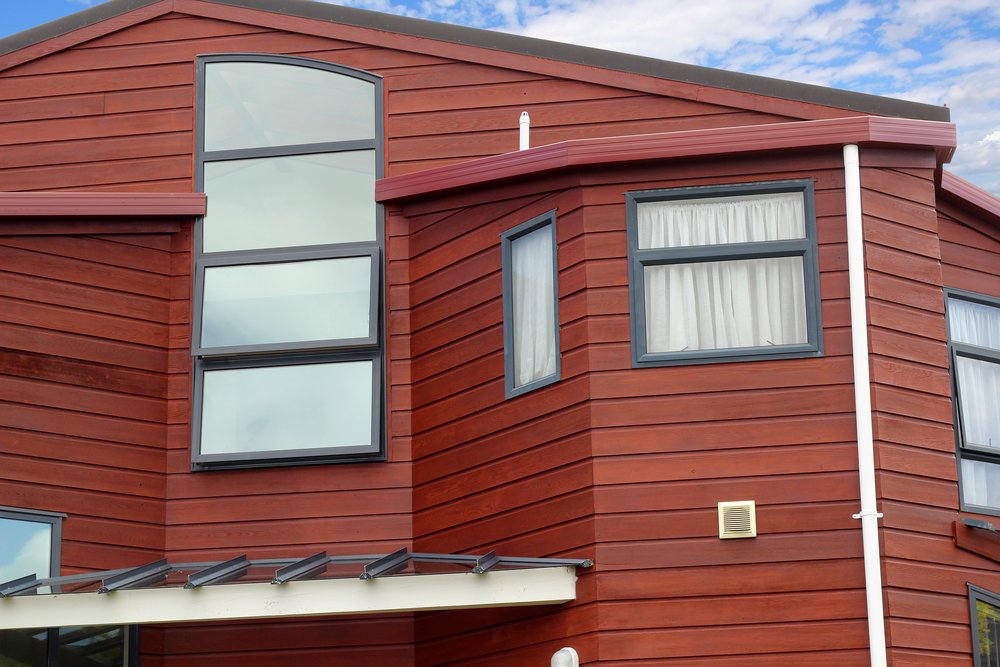
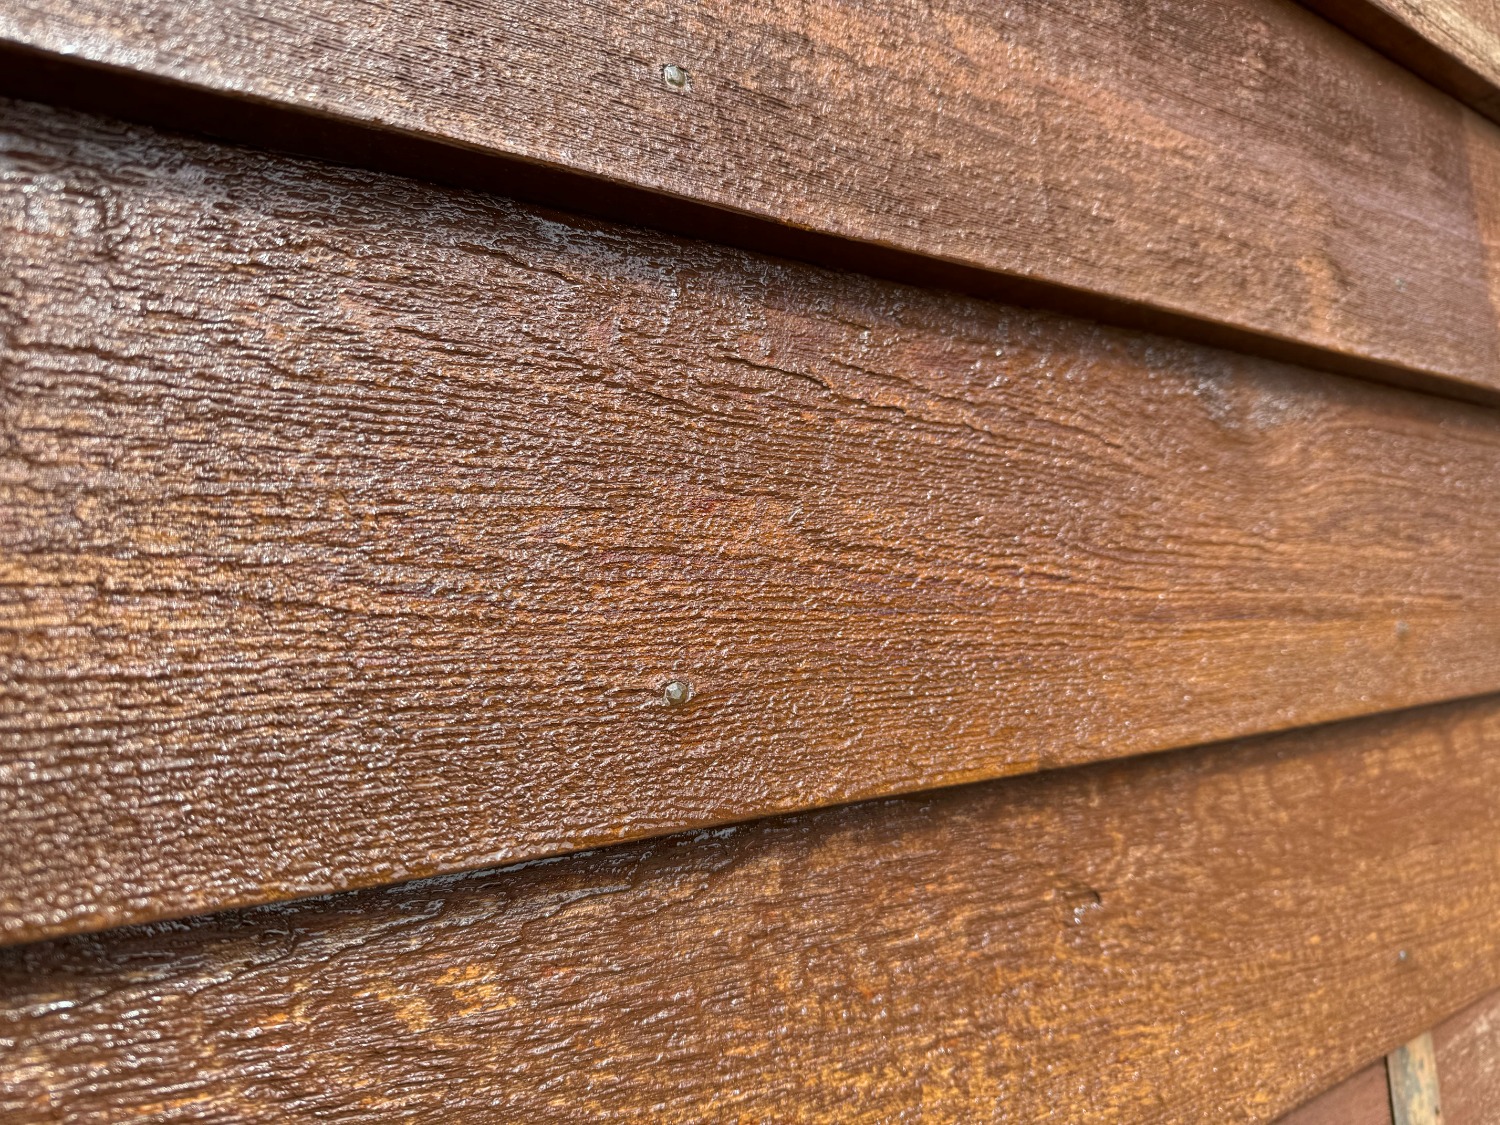
Cedar homes from this era are stained in a distinctive shade of reddish brown. There were only two types of stains available, and they were both brown.

To change the colour of the boards will be very costly, as you would need to strip off the stain before applying a new stain or oil. Most people go for a light rinse and a recoat using one of the new waterborne stains.

The boards themselves are often still in great condition. The Cedar from this era was milled from slow growing trees, making the boards denser and more stable.

cedar-restoration-before cedar-restoration-after

Cedar homeowners were also more likely to maintain the Cedar themselves, so the Cedar often has multiple coats of stain that further protect the boards from harmful UV rays.

Standard maintenance, or a combination of maintenance and restoration, will cost between $5.5k – $8.5k for a single-story home, and $8.5k – $10k for a double-story home.
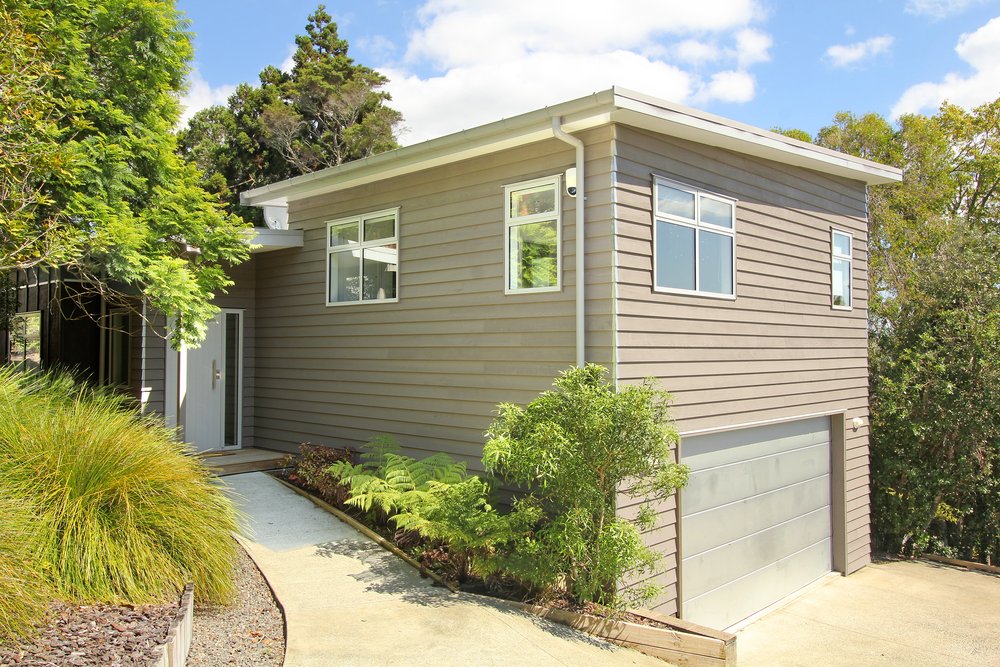
Early 2000s to 2010

Cedar homes from the early 2000s often used Cedar as a feature, installed up high, to enhance the look of weatherboard and solid plaster houses. There are very few houses from this era that are clad entirely from Cedar.

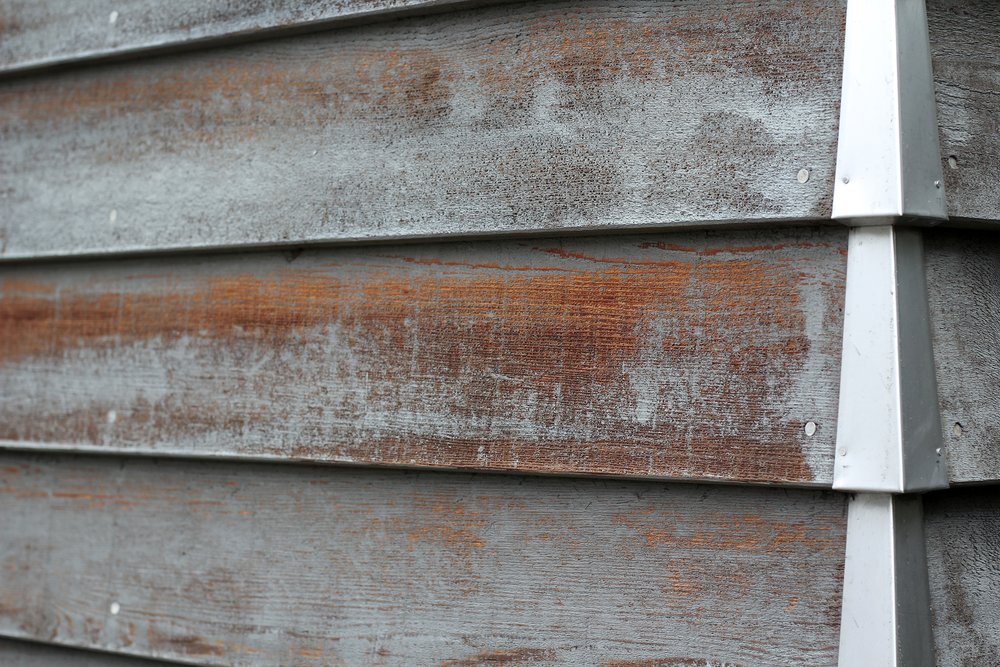
20 years on, most of these houses have had nothing done to them. The culture of maintaining your own Cedar has diminished due to busier lifestyles and more focus on health and safety, resulting in Cedar on sun exposed faces looking shabby and tired.

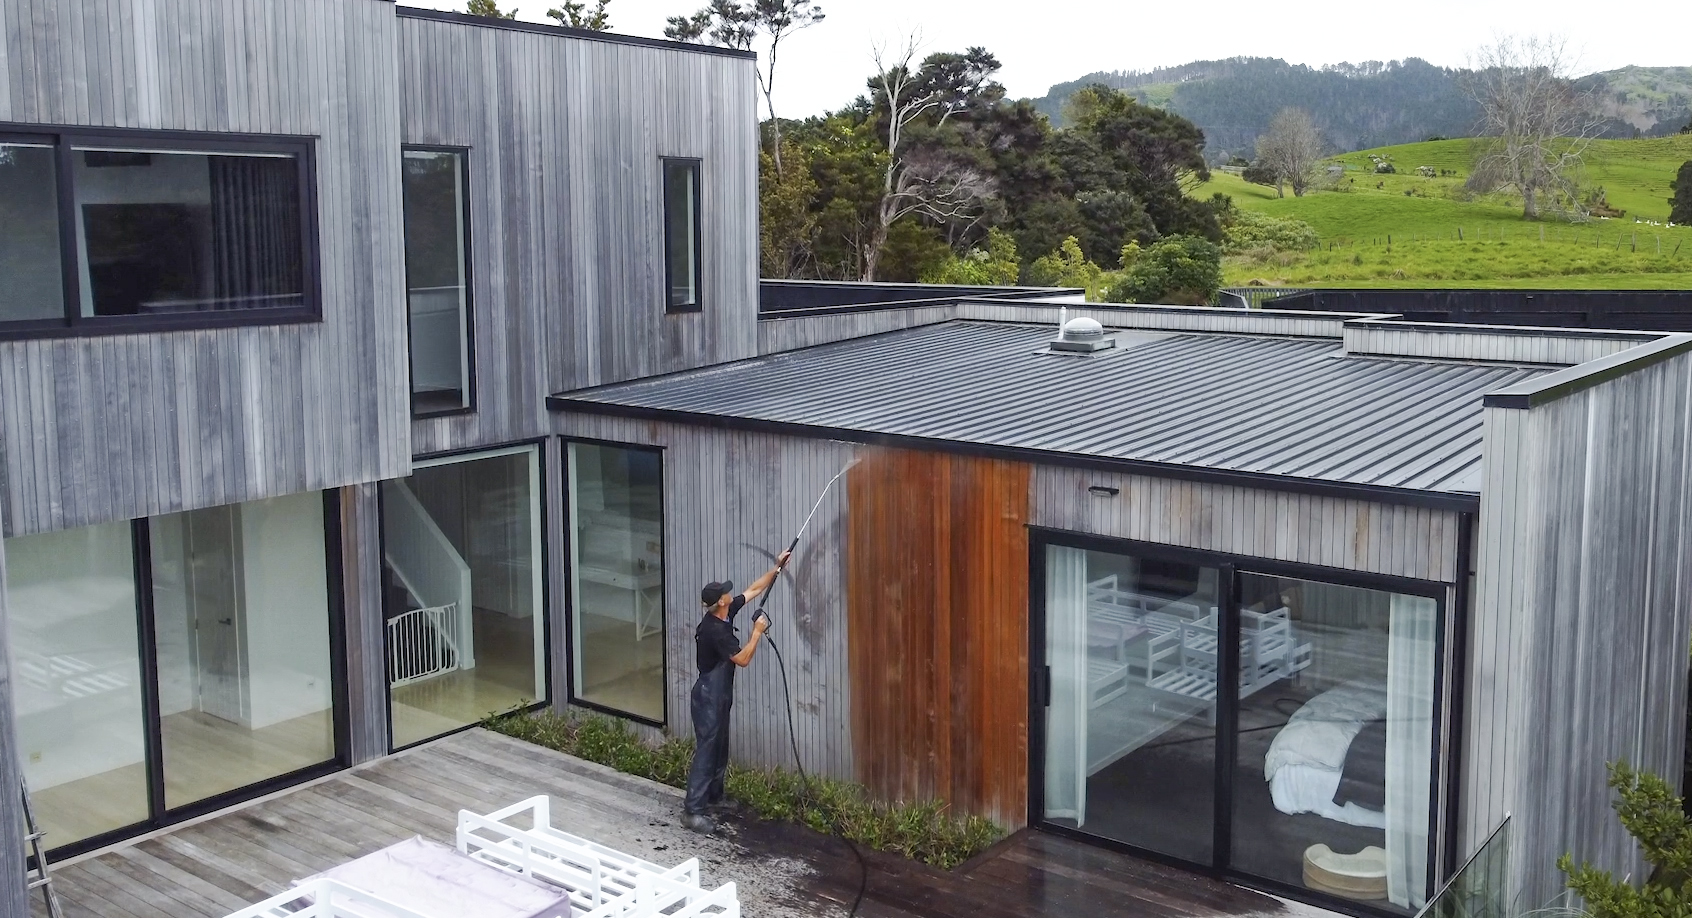
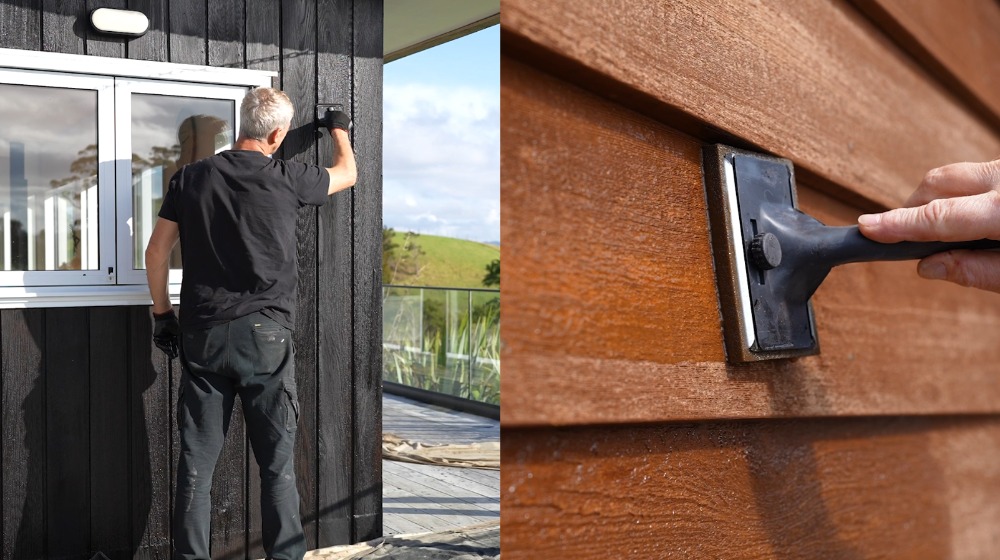
This scenario usually requires restoration over maintenance. Restoration involves washing the house, removing any organic matter, stripping back any old stain, and then applying a new coat of oil.

The cost of restoration will depend on volume and aspect: how much Cedar was used as a feature and which direction it faces. If it’s northerly facing, you will need to do considerable restoration work. If you have a feature on the south face, it might still be in good condition and only require recoating every 10 years.

If the Cedar can be accessed by ladder or mobile scaffolding, the standard cost of a restoration is between $3.5 – $5.5k. Fixed scaffolding will add considerably more to the cost.
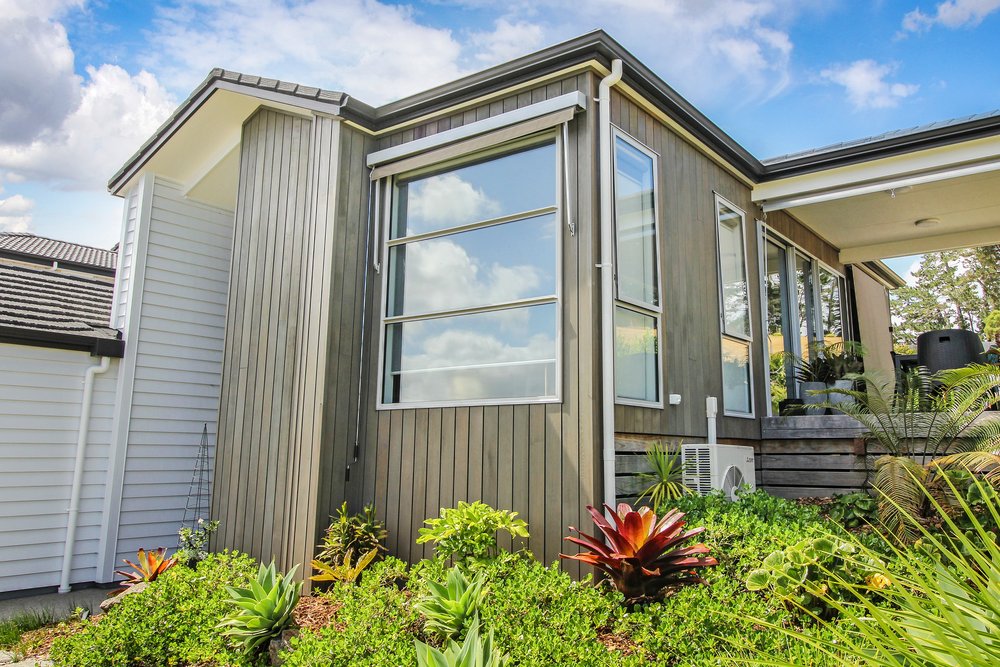
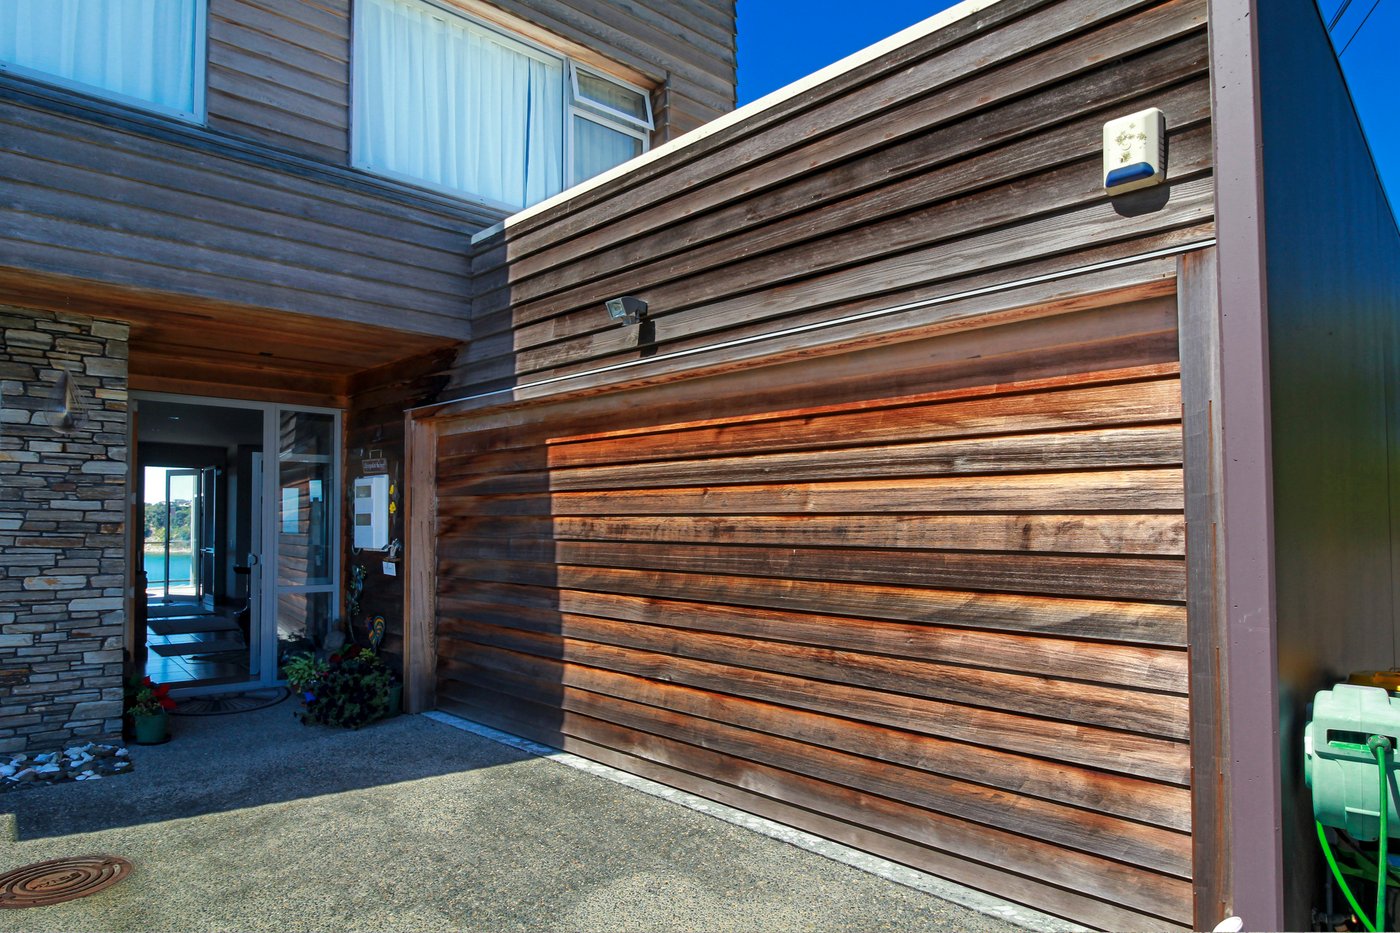
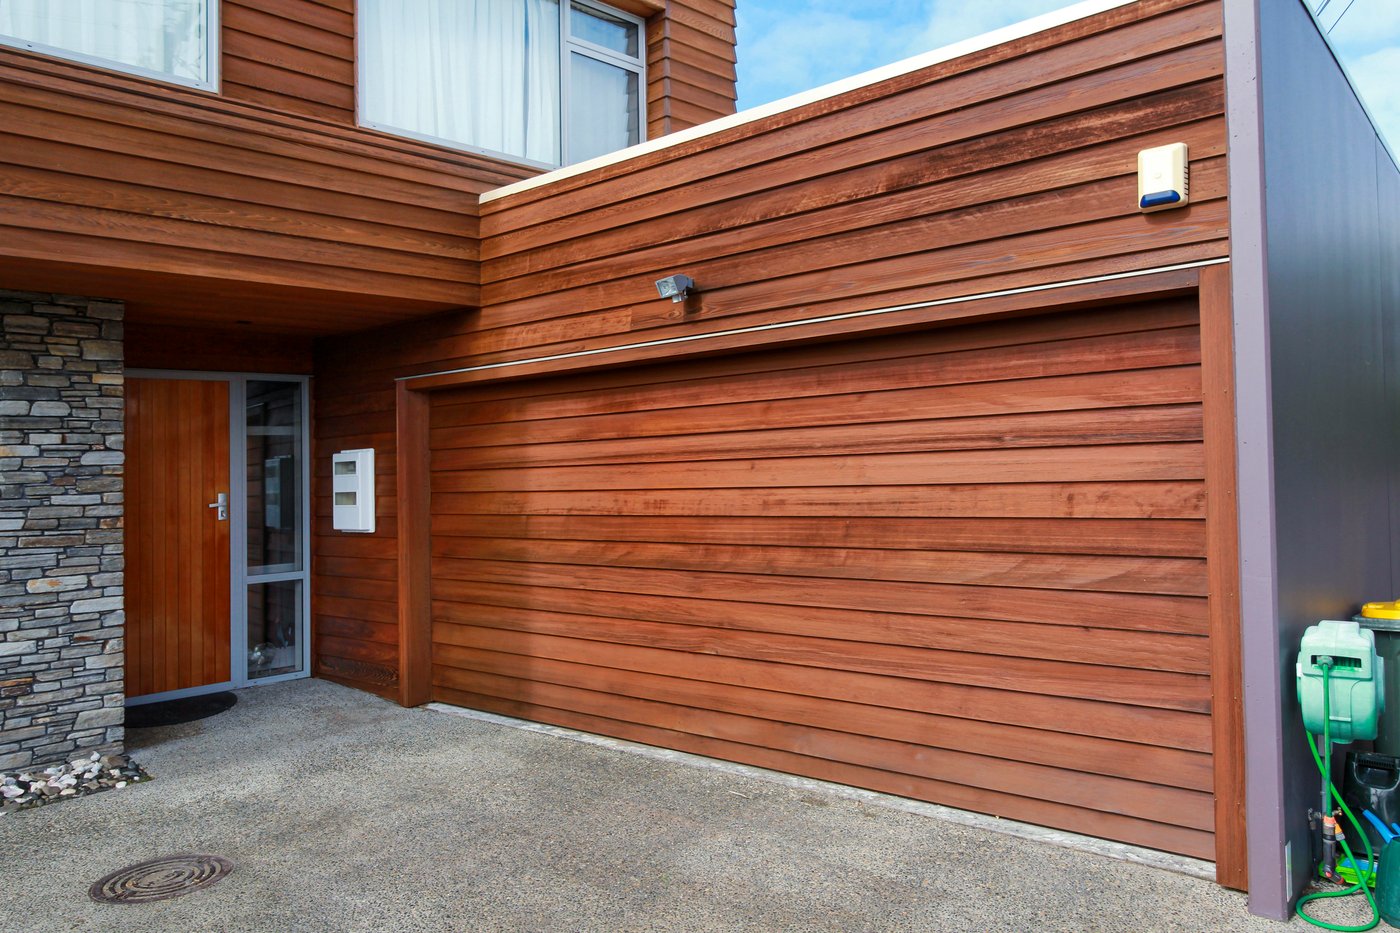
2010 – Present

Since 2010 onwards, Cedar has only grown in popularity. Homes are trending away from brick and tile, towards new townhouse developments, or architecturally designed properties.

Cedar is still a premium building material, but the price has come down in recent years due to faster growing methods and better exchange rates. As a result, we are back to building whole homes in Cedar.

The downside is that the faster growing timber isn’t as dense as the old boards. It’s still an incredibly robust cladding but requires regular maintenance to keep stable. If neglected, the boards will start to cup, and at some point, begin to pull the fixings through the timber.

Single-story Cedar homes cost $6.5k on average for a wash and recoat. Double-story Cedar homes are upwards of $8k – $10k. Large architectural homes are $15k – $20k.

Pricing Variables

  • Fixed scaffolding

Where possible we work from our own mobile scaffold towers and extension ladders, which are safe and fast, and keep costs down. Fixed scaffolding is often required when you go from 2 to 3 stories.

Scaffolding a large house will cost an additional $7.5 to $10k home. Scaffolding a smaller home, but still 2 story with high areas, will be $4k-$5k.

  • Access issues

These are houses that are built on steep hillsides or have very high walls. There will always be additional costs when our team must access hard to reach areas, but it’s not often a huge expense. The areas that need rope and harness are usually limited, and it’s all part and parcel of what we do.

  • Size of the house

The bigger the house, the more time, stain and oil it requires.

Additional stories on top of that will always be more expensive, and when you go from 2 to 3 stories scaffolding is required. If you have 2 stories, but there is very little up top, the extra cost will be minimal.

  • Time passed

If you haven’t maintained your Cedar in the last 3-5 years, it’s going to be very dry and require a lot of product.

  • Restoration vs Maintenance.

If the Cedar has never been touched, the boards will require a deep clean and oil. If they have stain, we need to strip back the broken-down stain. These are two very different treatments, with different costs associated.

Final Thoughts

No two houses are the same. There is a good reason why our team travel out to every house before we send a quote. There are a lot of variables in pricing a quote (and many of them can work in your favour!), so it’s always best to call our team for an onsite assessment.

We never push Cedar maintenance if it’s not needed and prefer to look after the best interests of our customers over the lifecycle of their homes.

15 Dec 2024
Applying the right amount of oil is essential in protecting your Cedar from the harsh New Zealand sun. For stress free Cedar maintenance, simply follow the manufacturer's guidelines and your boards will last forever (well, almost).

Applying the right amount of oil is essential in protecting your Cedar from the harsh New Zealand sun.

The purpose of applying oil is to seal the boards from moisture. And the only way you can seal the boards is to put enough oil into the deep pockets of the timber that the water will stop getting in.

If the pores of the timber are not filled with oil, they will accept whatever other liquid there is available, such as the rain or moisture in the air. This causes the boards to swell and contract, absorbing and releasing moisture.

The summer heat will then dry the surface of the timber and as the surface tension gets tighter, the boards will begin to cup.

Follow the Manufacturers Guidelines

For the purposes of this article, we will look at the manufacturer’s guidelines for Wood-X.

Coverage of Wood-X penetrating wood oils is dependent on surface condition, timber type, air temperature and other factors. The following is an approximate, typical guide.

Wood X Guidelines

The range of sq meters per litre (such as 9-14 sq meters for the first coat of dressed timber) is a guideline for different situations. There will be areas where the boards will allow you to put the maximum recommendations on, and areas where you will only get the minimum.

The end grain of the Cedar is nice and open and will suck up the oil, whereas the heart of the tree is a lot harder and does not absorb the oil as easily.

Other factors include the porosity of the board, how warm it is (in warm temperatures the boards will expand and oil will penetrate more easily), and the type of timber also makes a difference.

A dressed faced board has a smooth finish, like trying to get oil to penetrate glass, so it takes a long time for the oil to soak in. With a band sawn finish or weathered finish, the pores are open and will accept oil more readily and get deeper into the timber.

Is More Oil Always Better?

More is best. You can’t put too much Wood-X on. The intention is to saturate the surface and put as much oil into the timber as you can.

The timber will tell you when it’s full. It says that by perspiring. It leaves a shiny film on the surface and at that point, you know that no more oil is going in.

Sometimes people try and apply stains or oils sparingly and get them to look pretty with the first application. That’s not the design of a penetrating oil such as Wood-X. Wood-X needs to be applied so the boards get saturated and no longer absorb oil. At that point, you stop.

3-5 sq meters per litre is not a lot of timber to cover with quite a lot of oil, but that is what’s required if you want the boards to be protected.

Does Recoated Cedar Have Different Requirements?

No, the same principles apply. Saturate the surface and put as much oil into the timber as you can.

For new Cedar, the first recoat timing starts when the boards are installed and exposed to the air trafficking around the outside of the board. On a dressed face, the small pockets have already been filled with oil, so you are going to get 12-15 sq meters per litre.

That first coat can feel like it’s a waste of time. It’s not, it’s just very labour intensive for not a lot of gain, but it will set you up for the future of your timber.

Application Tips

  • Be careful to protect the areas you don’t want oil on. It migrates very quickly and will get onto decking and painted weatherboards. Once soaked in, oil is difficult to get out.
  • Using a spray gun is fast and effective, but we recommend using a brush or speed brush to take off any excess oil before it drips.
  • Spend the time to get the colour right. Choose a colour you like and stay lighter, that way the 2nd coat can go darker. It’s hard to go the other way around.
  • How long until the oil is dry to touch? If it’s a warm and windy day, around 48 hours after coating. With harder woods, or in cold conditions, you may need to extend that to 72 – 96 hours. As long as it takes to soak in.
  • When you start to see the colour fade, that’s an indicator that your Cedar needs attention. Or when the rain comes and the boards go very dark because they have soaked up the water. Both are tell-tale signs that there is no oil in the pores of the timber.

Final Thoughts

Wood-X is tried and tested in New Zealand conditions. For stress free Cedar maintenance, simply follow the manufacturer’s guidelines and your boards will last forever (well, almost).

If you need further advice, do not hesitate to get in touch with our team. We are always happy to help!

15 Oct 2024
Even amongst building professionals, there is a lot of confusion around different Cedar treatments, and which is best for the long-term protection of Cedar in different situations. This article aim to set the record straight.

Tinted oils and stains are two very different products – each with unique compositions, application requirements, and long-term maintenance needs – but the names are often used interchangeably.

Even amongst building professionals, there is a lot of confusion around different Cedar treatments, and which is best for the long-term protection of Cedar in different situations.

In fairness, the difference is not always obvious, and much of the confusion comes from the terminology used by manufacturers in the past.

This article aims to set the record straight, and show why it’s beneficial – both for your Cedar and for your wallet – to know the difference between Cedar treatments.

Let’s start by defining what exactly is an oil and a stain.

What is a Penetrating Oil?

Penetrating oil is designed to migrate into the timber and waterproof it from the inside, protecting against movement from the wetting and drying process, but it offers no UV protection.

We do not recommend using clear oil on Cedar cladding as there is no UV protection.

When a tint is added to a clear oil base, it becomes a tinted oil.

The tinted oil has all the waterproofing benefits of clear oil, but the tint now protects the timber against UV, like a sunblock, and it can be applied with a range of different colours.

What is a Stain?

Traditional stains use a solvent to emulsify the oil and are typically a brown-red colour, prevalent on homes built before the 2000s.

Solvent based stains are still available, but they are being phased out in favour of water-borne stains, which are more environmentally friendly, and come in a range of colours.

Water-borne stains emulsify the oil in water. When applied to the surface, the water evaporates leaving behind the oil to migrate, to a degree, into the surface of the timber.

Stains do not penetrate deeply into the timber, unlike oil, and are designed to erode from the surface over time. Once the stain has been broken down by the UV, any remaining stain will need to be washed or sanded away before applying new stain.

Where Does the Confusion Lie?

Stains and tinted oils are the most common source of confusion when talking with Cedar homeowners.

People think of a stain as something they brush on and the stain then soaks into the timber. This is true, but a stain will only soak into the timber marginally compared to a penetrating oil.

If you pour tinted oil onto a white sheet, it’s going to change the colour of the sheet without changing the texture, essentially staining the fabric.

If you do the same with a traditional stain, which is actually like a very thin paint, it’s going to leave a coating on the sheet. It will change the colour, but only because there is a coating on the surface. It’s not actually staining the fabric.

By this rationale, a stain is not actually a stain, but it’s been called a stain for so many years that the name has stuck.

This may seem like splitting hairs, but knowing which product is right for your Cedar has a significant impact on how your Cedar needs to be maintained.

Why Does This Matter

If you know what treatment is on your Cedar, you can formulate the right maintenance strategy for your home – and potentially save yourself money, and heartache.

Here are a few practical examples:

  • Existing Cedar Homes

If you already have a Cedar home, this means you can use the same treatment as before for the best colour matching and application; while avoiding generic products that do not perform as well, or incompatible treatments, such as applying a water-borne stain over an oil.

  • New Cedar Homes

If you are building or buying a new Cedar home, a stain is often applied as it requires little upkeep for the first 5-10 years, but eventually the sun will dry out the timber and you might have to use a Cedar professional for maintenance or remedial work.

  • Cost and Upkeep

Different treatments have different costs. Oil migrates deep into the timber, but doesn’t last on the surface as long as a stain and needs more regular upkeep. Stain lasts longer, but once it erodes, it needs to be removed evenly before recoating, or you end up with an uneven finish.

  • Cedar Orientation

Areas in the shade require less maintenance than sun-exposed areas, making stain more suitable in some circumstances. And if you have an area of Cedar up high, the cost of scaffolding might be prohibitive for regular application of oil and a stain might make more sense.

All these potential complications can be eased by knowing what treatment has been used on your Cedar, and what treatment is best for different situations.

Final Thoughts

We are not saying that one product is better than the other, but by understanding what treatment is on your Cedar, you can make better decisions about how it needs to be protected.

If you are unsure, get in touch with our team and a Cedar expert will come out to your house to assess your cladding.

Read More Articles

Showing 1 - 10 of 14

Subscribe

Sign up to our quarterly newsletter for all the latest Cedar tips and expert advice.

Your Free Cedar Diagnosis

TimberTech comes to you, or we review the supplied photos of your Cedar. Next, we provide you with a professional treatment plan.

Let’s get started…