How Much Oil Does Cedar Need?

How Much Oil Does Cedar Need?

15 Dec 2024
How Much Oil Does Cedar Need

Applying the right amount of oil is essential in protecting your Cedar from the harsh New Zealand sun.

The purpose of applying oil is to seal the boards from moisture. And the only way you can seal the boards is to put enough oil into the deep pockets of the timber that the water will stop getting in.

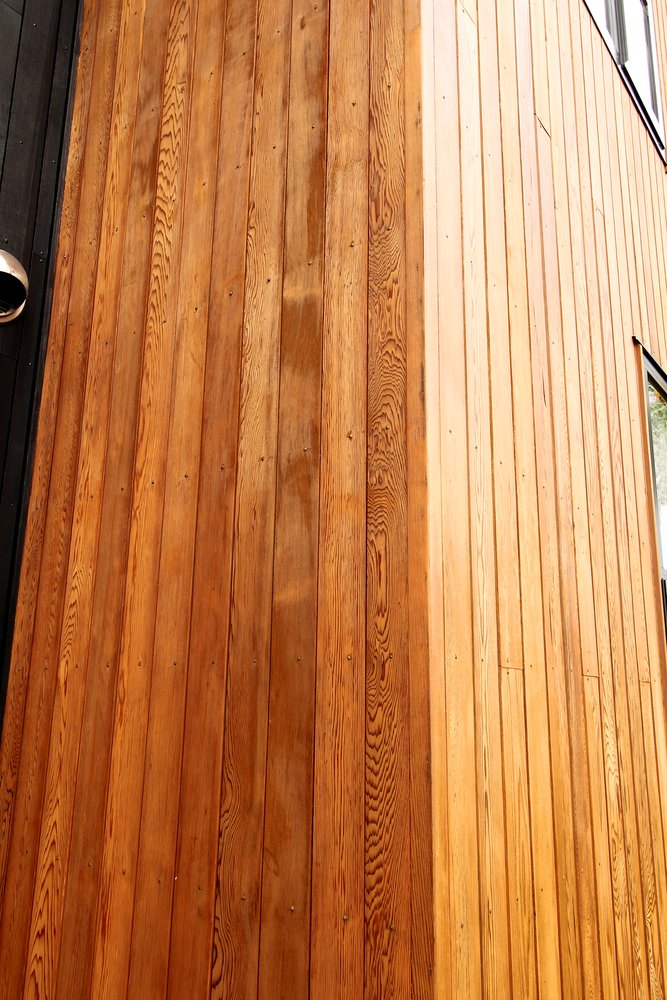
If the pores of the timber are not filled with oil, they will accept whatever other liquid there is available, such as the rain or moisture in the air. This causes the boards to swell and contract, absorbing and releasing moisture.

The summer heat will then dry the surface of the timber and as the surface tension gets tighter, the boards will begin to cup.

Follow the Manufacturers Guidelines

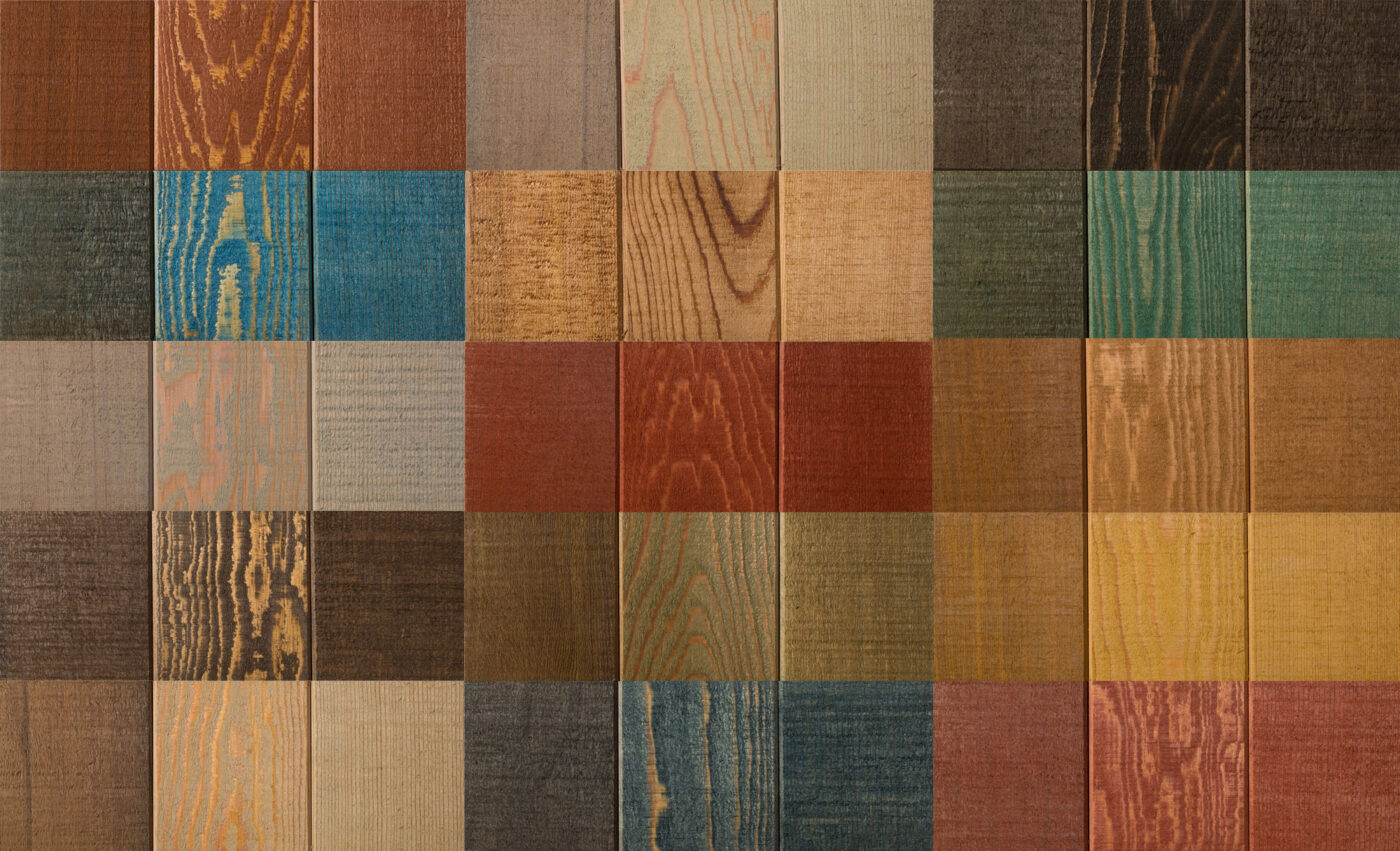
For the purposes of this article, we will look at the manufacturer’s guidelines for Wood-X.

Coverage of Wood-X penetrating wood oils is dependent on surface condition, timber type, air temperature and other factors. The following is an approximate, typical guide.

Wood X Guidelines

The range of sq meters per litre (such as 9-14 sq meters for the first coat of dressed timber) is a guideline for different situations. There will be areas where the boards will allow you to put the maximum recommendations on, and areas where you will only get the minimum.

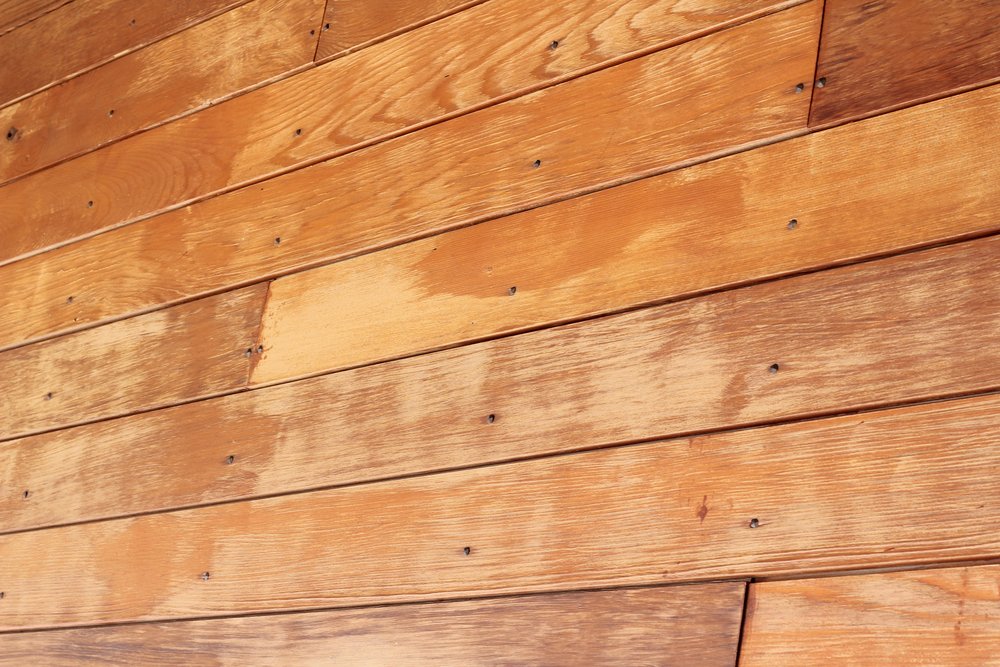
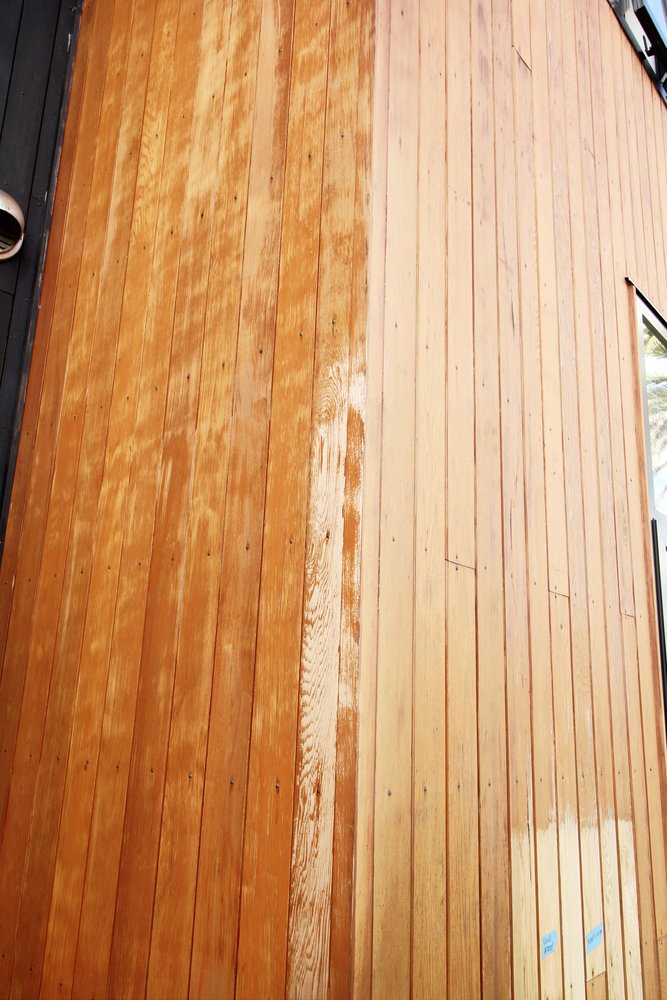
The end grain of the Cedar is nice and open and will suck up the oil, whereas the heart of the tree is a lot harder and does not absorb the oil as easily.

Other factors include the porosity of the board, how warm it is (in warm temperatures the boards will expand and oil will penetrate more easily), and the type of timber also makes a difference.

A dressed faced board has a smooth finish, like trying to get oil to penetrate glass, so it takes a long time for the oil to soak in. With a band sawn finish or weathered finish, the pores are open and will accept oil more readily and get deeper into the timber.

Is More Oil Always Better?

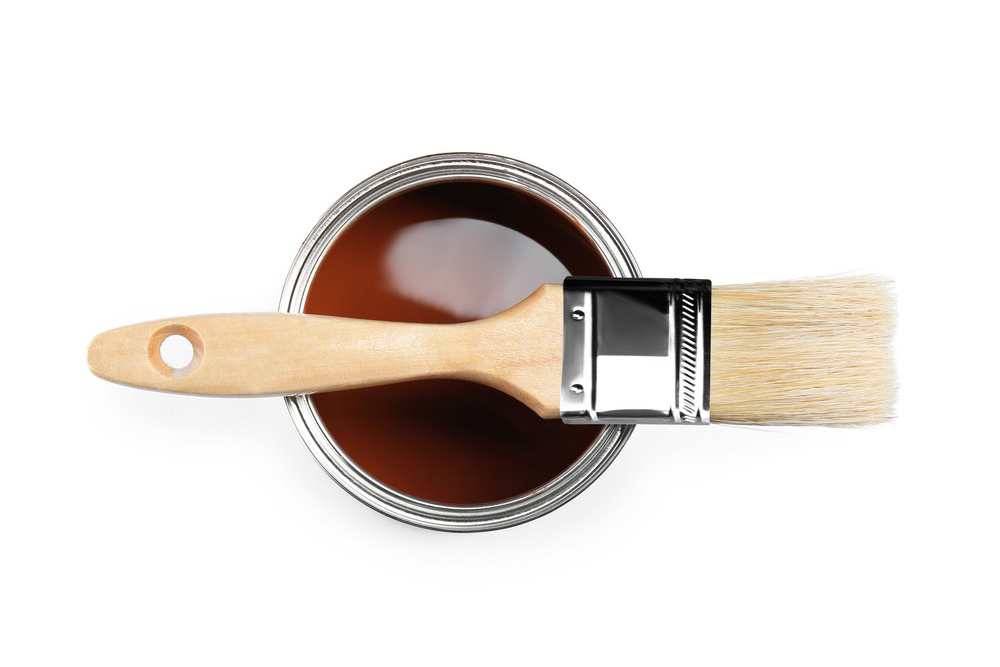
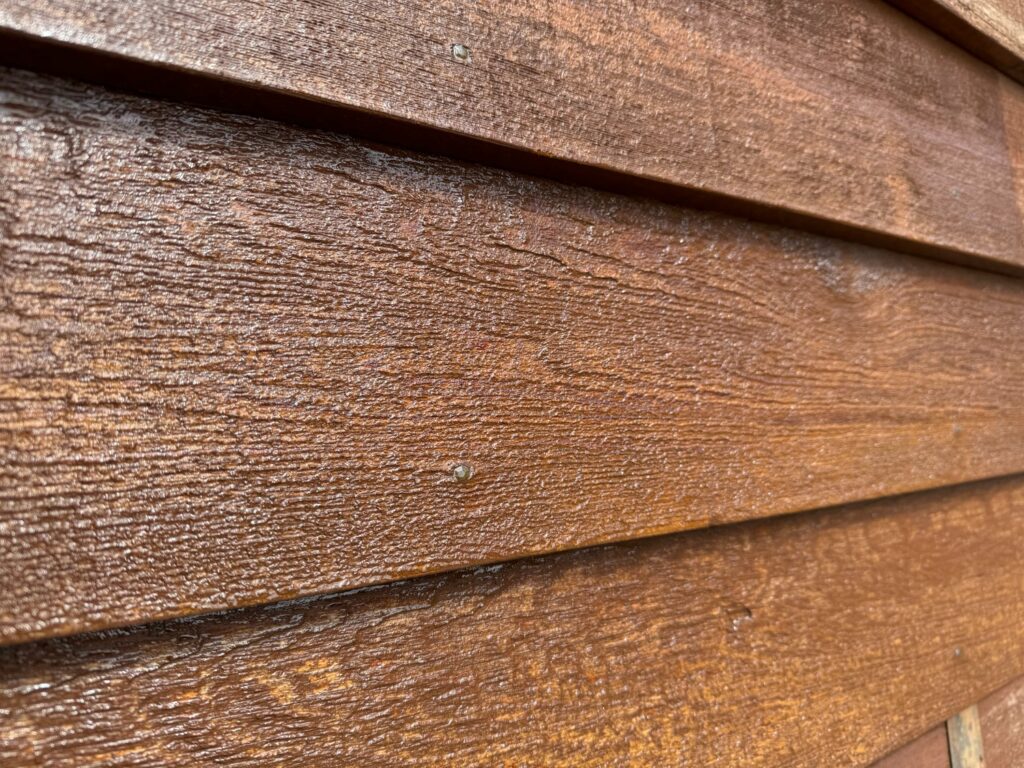
More is best. You can’t put too much Wood-X on. The intention is to saturate the surface and put as much oil into the timber as you can.

The timber will tell you when it’s full. It says that by perspiring. It leaves a shiny film on the surface and at that point, you know that no more oil is going in.

Sometimes people try and apply stains or oils sparingly and get them to look pretty with the first application. That’s not the design of a penetrating oil such as Wood-X. Wood-X needs to be applied so the boards get saturated and no longer absorb oil. At that point, you stop.

3-5 sq meters per litre is not a lot of timber to cover with quite a lot of oil, but that is what’s required if you want the boards to be protected.

Does Recoated Cedar Have Different Requirements?

No, the same principles apply. Saturate the surface and put as much oil into the timber as you can.

For new Cedar, the first recoat timing starts when the boards are installed and exposed to the air trafficking around the outside of the board. On a dressed face, the small pockets have already been filled with oil, so you are going to get 12-15 sq meters per litre.

That first coat can feel like it’s a waste of time. It’s not, it’s just very labour intensive for not a lot of gain, but it will set you up for the future of your timber.

Application Tips

  • Be careful to protect the areas you don’t want oil on. It migrates very quickly and will get onto decking and painted weatherboards. Once soaked in, oil is difficult to get out.
  • Using a spray gun is fast and effective, but we recommend using a brush or speed brush to take off any excess oil before it drips.
  • Spend the time to get the colour right. Choose a colour you like and stay lighter, that way the 2nd coat can go darker. It’s hard to go the other way around.
  • How long until the oil is dry to touch? If it’s a warm and windy day, around 48 hours after coating. With harder woods, or in cold conditions, you may need to extend that to 72 – 96 hours. As long as it takes to soak in.
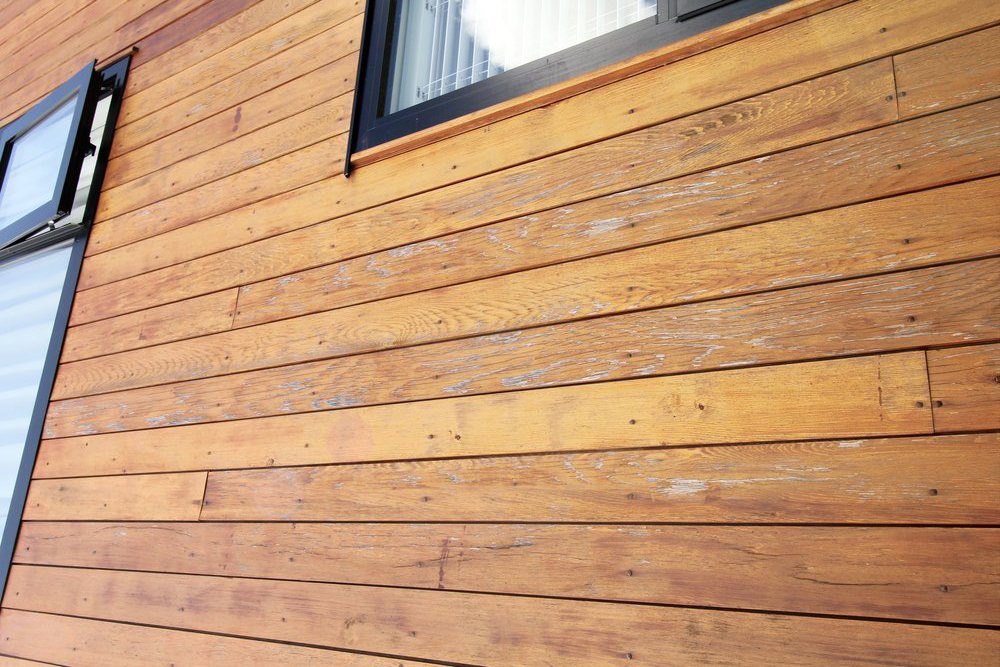
  • When you start to see the colour fade, that’s an indicator that your Cedar needs attention. Or when the rain comes and the boards go very dark because they have soaked up the water. Both are tell-tale signs that there is no oil in the pores of the timber.

Final Thoughts

Wood-X is tried and tested in New Zealand conditions. For stress free Cedar maintenance, simply follow the manufacturer’s guidelines and your boards will last forever (well, almost).

If you need further advice, do not hesitate to get in touch with our team. We are always happy to help!

Read More Articles

17 Oct 2023
Many Cedar homes that were built before the 2000s have a distinctive red colour than now looks dated. At the time, the red/brown tint was all that was available, but now we have access to a wide range of tinted oils and stains.

Most Cedar homeowner aren’t aware that they can change the colour of their Cedar. It usually comes about in our initial conversation with new customers who have just bought their home and want a more contemporary look.

Many Cedar homes that were built before the 2000s have a distinctive red colour than now looks dated.

At the time, the red/brown tint was all that was available, but now we have access to a wide range of tinted oils and stains.

What colours we recommend depends on the unique circumstances of each house: the existing colour of the Cedar, levels of UV exposure, whether the Cedar is treated with an oil or a stain, and when the Cedar was last maintained.

Before talking colours, it’s useful to understand how Cedar works in relation to oils and stains.

How Cedar Works

Raw Cedar can be a myriad of colours, anything from light pine to mahogany red.

There is a lot of red Cedar around. If you cut it in half, the inside is a deep red colour. Add oil to that and the red pops out, making it a difficult base colour to compete with. But more on that later.

Once the Cedar has been used in construction, an oil or stain is applied to protect it from the elements and give a cosmetic finish.

A tint is a pigment added to an oil or stain. This is like how pigment is added to paint. To create a pastel colour, you start with a white base, add the pastel pigment and blend it together to get the final colour.

It’s the same principal for stains and oils.

Assessing Your Colour Options

The more drastic the change of colour, the more difficult the process will be.

If you have a natural Cedar colour, which is less red and more of a brownish hue, it can be covered with a dark brown or black quite easily.

If you have deeper colours such as dark red, changing the colour becomes more difficult.

For a lighter or muted finish, you would need to scrub off some of the deep red. If you are going for a brown or black finish, you need to put on more of the next coat to hide the red that is underneath.

Changing from dark to light will also be more expensive, as the initial colour will need to be stripped back and is a much more intensive process.

Changing Colour with Oils

When an oil has already been applied, the tint will often need to be stripped from the surface using a degreaser. Because oils are translucent, they work with the colour underneath, which is generally the red Cedar.

If you don’t use a degreaser, you are working with the already pigmented Cedar and no matter how many coats you put on, it won’t make a difference.

The extent of this process depends on how much UV the treatment has been exposed to.

If the oil has been exposed for 4 or 5 summers, the tint will have oxidised and broken down, and will most likely come off with a heavy wash. If it’s only been on for 1 or 2 summers, chances are the sun hasn’t broken it down and it will need a degreaser.

If there are parts of your house that are protected from the UV, such as under soffits, we treat those areas separately to achieve an even finish.

Changing Colour with Stains

The underlying principle behind changing the colour on an oil or a stain is basically the same: you first need to remove as much of the original finish as possible to create the best results.

If any of the original colour remains, the oil or stain highlights whatever is left on the board.

Stain is opaquer than oil and hides a lot more. If you are going from light brown to dark brown, or red to dark brown, you can probably get away with a standard wash and 2-3 coats of stain. For more drastic colour changes, you will need to use a paint stripper.

Modern paint strippers are less potent than in the past and are made from organic compounds that are brushed on the surface, then scraped off and put in the rubbish bin.

Want a Modern Look for Your Home?

As you can see, there are a lot of different factors that need to be considered when looking to change the colour of your home.

To learn about your options, give us a call on 0800 298 298. One of our Cedar experts will visit your home and assess your timber.

If you want to browse colours, please visit our Colour Range page and look at some swatches.

12 Aug 2023
What debate? Oil is the way to go when it comes to cedar, no contest. While stain only coats the surface of the wood, oil works in partnership with one of cedar’s basic features. You see, cedar is a naturally oil-rich timber itself – it soaks up rejuvenating oil deep into its cells for up to a year after it’s applied.

“Should I use oil or stain on my Cedar?”

This is by far the most common question we get from Cedar homeowners and a source of some debate on the internet.

In our opinion, there is no debate (with a few caveats). For nearly all situations, treat Cedar with a penetrating oil such as Wood-X.

Oil works like moisturiser for Cedar, deeply replenishing the natural oils and keeping the Cedar protected – and looking great – for many years to come.

So, there we have it, debate closed. Oil is the way to go when it comes to Cedar, no contest. But if the answer is so clear cut, where does this debate come from in the first place?

To find out, read the full article, or watch the video below for a quick summary.

With Cedar, Location Is Everything

If we were having this conversation in the northern hemisphere, the answer would be the opposite: use a stain. Stains last longer and you will have a lot less maintenance over the lifetime of the Cedar.

In New Zealand, the situation is very different. We have some of the harshest UV rays in the world which extract the natural oils from the Cedar and dry out the boards. Over time, the boards will cup and eventually crack, leading to a costly replacement of your cladding.

Stains protect the boards from moisture and look great, but unlike penetrating oils, they do not replenish the natural oils extracted by the sun. They are designed to erode over time, often unevenly, and leave the timber unprotected and unsightly.

Caveats For Using Stain on Cedar

While oil is recommended for Cedar in nearly all cases, there are some situations where stain is more suitable.

If the Cedar has considerable shade with little to no UV exposure, using a stain instead of an oil might be appropriate. This is usually when a house is shaded by dense tree cover or has wide soffits, such as villas where the roof extends over the porch.

The soffits stop the weatherboards from being degraded by the sun. These well protected areas can be treated with a stain and will look great forever.

If in doubt, get in touch, we are always happy to give an expert opinion on which treatment is best for any given job.

Comparing Costs Between Cedar Oils and Stains

Over the long term, there isn’t much difference in maintenance cost between oils and stains. The real savings come when looking at the longevity of the Cedar boards over the lifetime of your home.

Stained Cedar will dry out in the sun, causing the boards to cup and warp faster, and increase the likelihood you will need to replace your boards. A costly solution to an avoidable problem!

The difference shows up when we’re preparing Cedar for restoration. Sanding stain may reveal unsuspected insect, sun or moisture damage. With an oil recoat on a well-maintained property, it’s just a gentle clean with a bio-degradable wash, a short drying period and the re-oiling itself.

Have any more oil vs stain questions? Send us a message or use the Live Chat below!

13 Jul 2023
As Cedar ages, we highly recommend transitioning Cedar from stain to a penetrating oil where possible. The simple truth is, no matter how much stain you put on the surface of the timber, 5-10 years of sun exposure on a northern face will deplete the natural oils of the Cedar and cause the boards to dry out, cup, then ultimately split.

As Cedar ages, we highly recommend transitioning Cedar from stain to a penetrating oil where possible.

If you want to know more about the pros and cons of each, please read our article The Cedar Oil vs. Cedar Stain Debate.

The simple truth is, no matter how much stain you put on the surface of the timber, 5-10 years of sun exposure on a northern face will deplete the natural oils of the Cedar and cause the boards to dry out, cup, then ultimately split.

This doesn’t just look bad, it threatens the integrity of your home to withstand the elements and if the damage continues, you may need to replace the cladding altogether.

How Stained Cedar Ends Up Looking Unsightly

Treating aged Cedar with stain isn’t usually an informed choice by the homeowner. Often, the previous owner has done a quick fix and used stain to make the Cedar look pretty before selling, or the current homeowner has stained over a poorly prepared stain without stripping back the boards.

Stains are translucent, so even though they have some opacity, you can still see through them and unless the preparation is done well, stains don’t hide imperfections.

Eventually the stain will delaminate in the harsh UV, giving a camouflaged look with light and dark shades that are often patchy and uneven.

Img 9438 Cc2

The Transition Process from Stain to Oil

First, we will do a site visit to look at the current state of the Cedar boards.

In the best-case scenario, the weatherboards will have had an even exposure to the sun. We then use a strong solution of the oxy cleaner to get in behind any of the oxidised stain which has been broken down by the sun, then use a heavy wash to remove anything which is loose.

The heavy wash will give us a good look at the condition of the boards below. If there is any stain remaining on the surface, we will need to sand or strip the boards back to their virgin state before applying the oil.

Img 9433 Cc2

If the boards have had partial shade cover, such as nearby trees or soffits that have only protected the upper areas, they need to be stripped. You can’t just oil over the top and hope that it’s going to match the weatherboards below.

This adds a lot of cost to the process and if the homeowner isn’t willing to spend that much money, we may recommend applying another coat of stain to provide at least some protection and keep the house looking tidy.

Be Prepared for the Shiny-flat Look

One of the biggest downsides of moving from stain to oil is a 3-9 month transition period where your Cedar will have a shiny-flat-shiny-flat look.

This happens when oil is applied to any surface that still has stain remnants. The oil cannot soak through the stain as it is non-porous, so it sits on top, around the surface area where the oil has soaked in, giving the shiny-flat-shiny-flat look.

cedar-stain-to-oil-before-1 cedar-stain-to-oil-after-1

In the sunlight, the shiny-flat-shiny-flat look is not pretty. However, this effect is only temporary and after 3-9 months the oil eventually soaks in behind the stain and the stain will delaminate further.

After 3-9 months, we will come back and give the boards another heavy wash, sand back any remaining stain and apply another coat of oil. 9-12 months later we repeat the same process. After 12-24 months the process will be complete and the Cedar will move into a regular maintenance schedule, with sun exposed areas being treated every 2-3 summers.

What Costs Are Involved?

Cost is the final hurdle for many Cedar homeowners. Stripping off stain is an expensive process and if your current home is not your forever home, the costs might be prohibitive.

However, if you are planning to stay in your current home for the foreseeable future, the costs become an investment that will pay for itself. Over time, oil is much easier to apply than stain, provides superior protection against the elements and increases the lifespan of your Cedar.

In broad terms, it comes down to this: do you want to spend the extra 10k to remove the stain and give yourself an easy to maintain finish, or deduct the 10k from the cost of replacing the cladding in the not-to-distant future?

By investing in the health of your Cedar now, you will save money on long-term maintenance, and your cladding will look amazing.

Get An Expert Opinion!

As you can see, there are a lot of variables when considering the transition from stain to oil. This article is intended to educate Cedar homeowners on the general process, but nothing compares to having one of our team visit your house and make a professional assessment.

For a free Cedar Assessment, get in touch by calling 0800 298 298. There is no obligation and our goal is always to look after the best interests of our customers over the lifecycle of their homes.

Read More Articles

Showing 1 - 10 of 14

Subscribe

Sign up to our quarterly newsletter for all the latest Cedar tips and expert advice.

Your Free Cedar Diagnosis

TimberTech comes to you, or we review the supplied photos of your Cedar. Next, we provide you with a professional treatment plan.

Let’s get started…